
- Article published at:
- Article author: thepinklocket
- Article tag: Holiday
- Article comments count: 0
Ways to stay stress free and still stay stylish this holiday season.
Learn More
Drawer menu


I missed posting this yesterday. Do you ever get interrupted every time you sit down to do something? That’s exactly what happened yesterday, so I’m calling this one Tutorial Tuesday. The wait is now over, you finally get to see the finish product of the Outdoor Living series. I’m sure I’ll add more little things later on, but for now it’s done. I decided to go with a grey, turquoise and yellow color theme and a splash of berry. So here goes, I’ve broken down my mini projects so you can have an overview of what the process was for each one. Overall the cost for this look only costed me $86 total!
PILLOWS
4 pillows size 20 in x 28 in
2 small pillows 14 in x 14 in
40 plastic grocery bags
1 sponge
fabric paint
scissors
Sewing Machine or Liquid Stitch
Small Pillows

The first thing I did was cut a sponge into a leaf shape (it bounces off the leaf textile for the bigger pillows), and using turquoise paint I dabbed the paint onto a pillow case that I made from plain yellow fabric and allowed it to dry over night.

I ended up making 4 pillows, 2 with actual pillows as inserts and since I refused to trek it to Ikea for two more I used a good trick my sister in law taught me and stuffed the cases with recycled grocery store plastic bags.
Large Pillows
Since this was a very budget project and like I said previously I didn’t feel like going to Ikea, I bought some regular bed pillows (4 to be exact) and found a pretty print leaf fabric at Joann’s Fabric for 50% off per yard and pulled out my sewing machine. I just did a very basic simple stitch and sewed 2 pillow cases. You could even do this using Liquid Stitch fabric glue.

DECOR ACCESSORIES
Canvas Pictures
2 Canvases
Fabric Remnants
Staple gun
Scissors
If you want a quick way to brighten up your space, this technique is so simple and can be done in less than 20 minutes. I was lucky enough to have canvases around the house and just used the leftover fabric from the pillows. As a matter of fact I did this project while watching a World Cup match ;)
Just measure out the fabric so that it matches the measurements of your canvas. It maybe easier to just lay the canvas on top of the fabric and just cut around the canvas leaving about an 1 inch of fabric from the border of the canvas. Then using your staple gun fold the fabric to the wooden part of the canvas and staple away until the entire canvas is covered with the fabric. On the yellow canvas I trimmed out the leaf pattern and glued it to the canvas and used Little Model A‘s stamp set to stamp an inspirational saying.

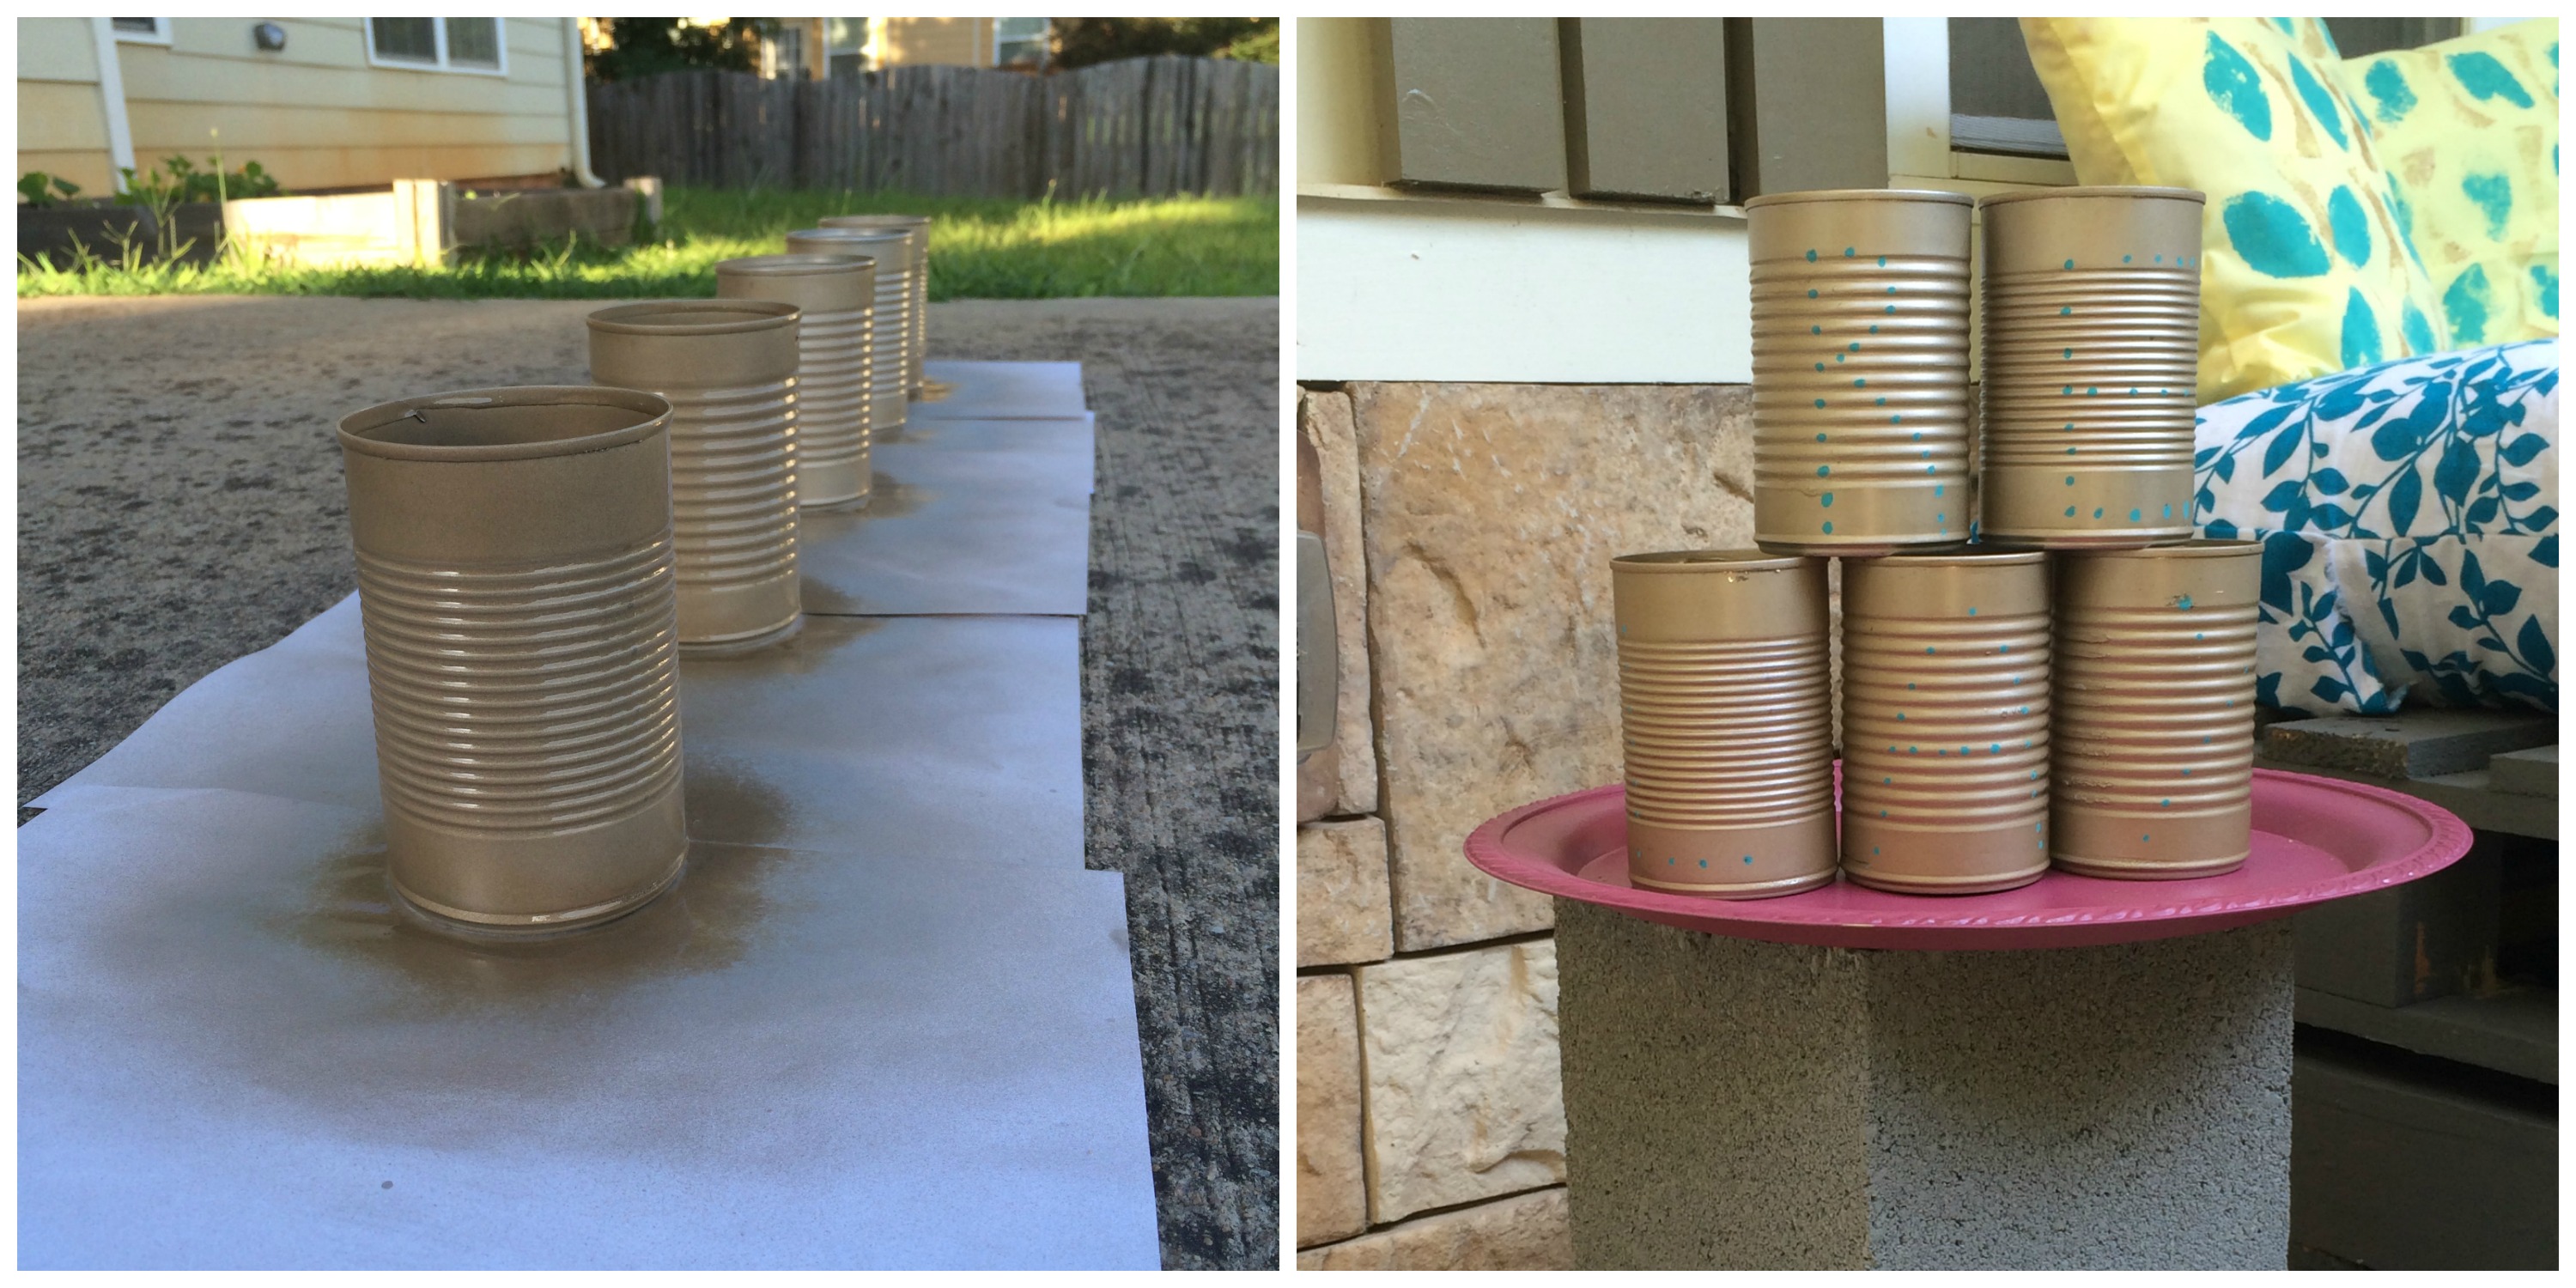
Candle Cans
Tin cans
Spray paint
Acrylic paint
We eat a lot of beans in our house, so we have tons of cans leftover. I did see a neat DIY on Pinterest where you punch holes into the cans to create a nice illuminating effect. However, in my attempt to do that it was taking quite a long time and I didn’t really want to end up in the ER for trying to punch holes into cans. I ended up just giving them a nice coat of light gold spray paint and painted the words “RELAX” in turquoise. I even put tea lights inside the cans and lit them and the low lighting was very pretty.
Painted Wine Bottles
Wine bottle
Acrylic paint
Chalk paint
Since I’m a wine lover, we also have lots of wine bottles that I use for decor around the house. I figured why not give it a splash of yellow paint and use my chalk paint on the front label. Another super quick and inexpensive idea and Aiden likes the chalk idea so it’s a super plus.

Well my summer Outdoor Living space is off to a good start, I’ve sat outside at least 4 times since I completed it. I hope you enjoy the mini tutorials. Please feel free to subscribe to my list and blog for more posts just like this.
